Suche nach Stichworten
Setting a password to restrict editing in Excel
Do you know how to set a password to restrict editing in Excel? Watch this to find out!
Setting a password to restrict editing in Excel
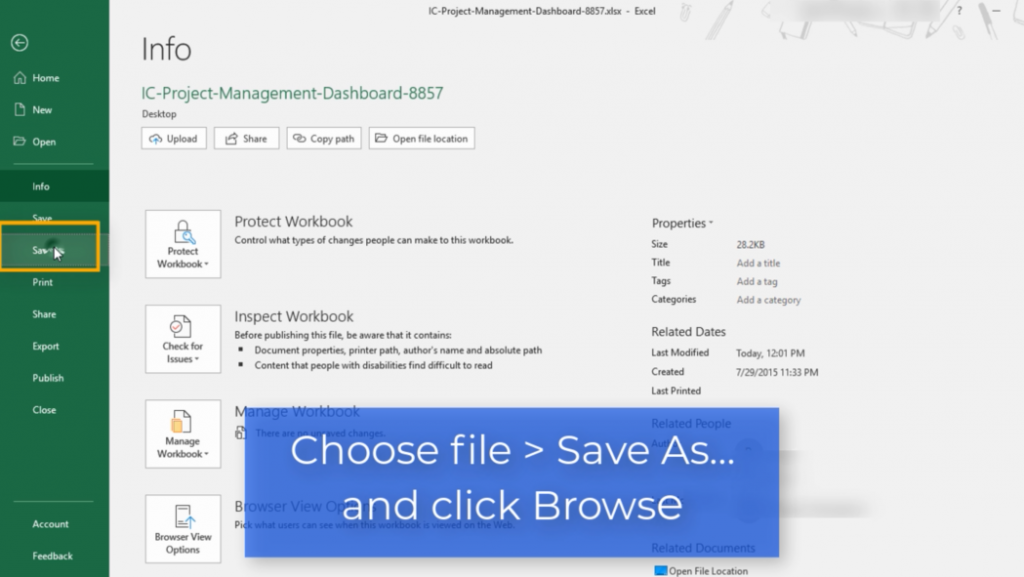
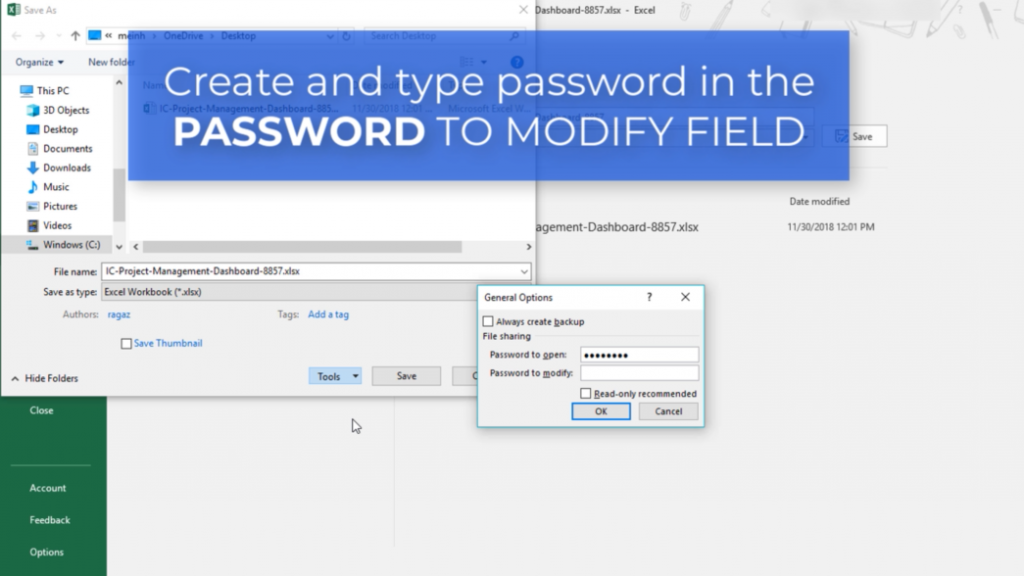
In Microsoft Excel, you can set a password to restrict editing or modifying a file to authorized users. To begin, open the file and choose File, Save As, click Browse, and in the Save As window, click Tools and choose General Options. This allows you to set a password to open the workbook or a password to edit the workbook.
If you wish to limit viewing of the workbook to only authorized users, enter a password to open it. Optionally, you can leave this field empty if you prefer anyone to be able to open the file. However, to prevent someone from editing the workbook, enter a password to edit it, click OK, and then verify the passwords you just entered. Finally, save the workbook.
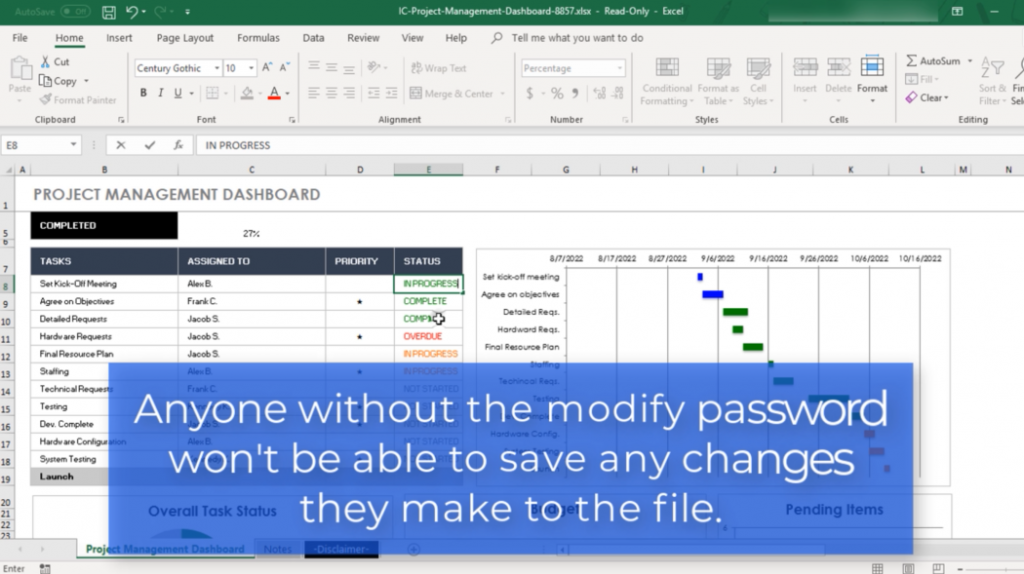
At this point, if the file is opened, the user will first be prompted to enter the password to open it and if you have assigned one then they will be asked to enter the password to edit the document. If a user clicks Read Only without a password, he can view the document and make changes. However, when he clicks the Save button, he will see a message that the document is read-only and that he must make a copy of the file with a another name to save his changes.