Suche nach Stichworten
Drawing a Table in Microsoft Word
Do you know how to draw a table in Microsoft Word? Watch this to find out!
Drawing a Table in Microsoft Word
Usually, when you add a table to a Word document using a grid or the Insert Table command, the table you create is expanded to the width of your document with equal rows and columns.
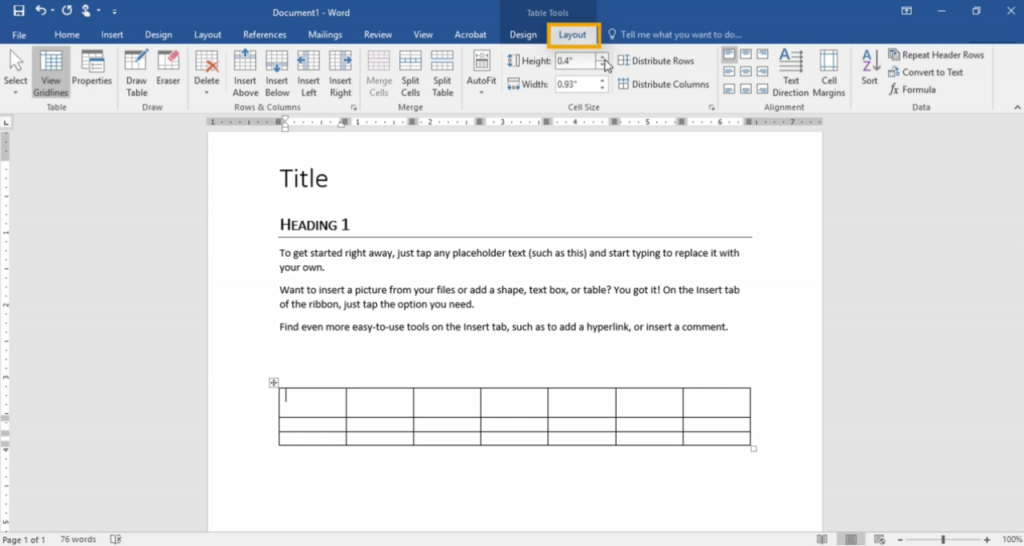
After that, you can change the widths and heights by modifying the table settings under the Layout tab.
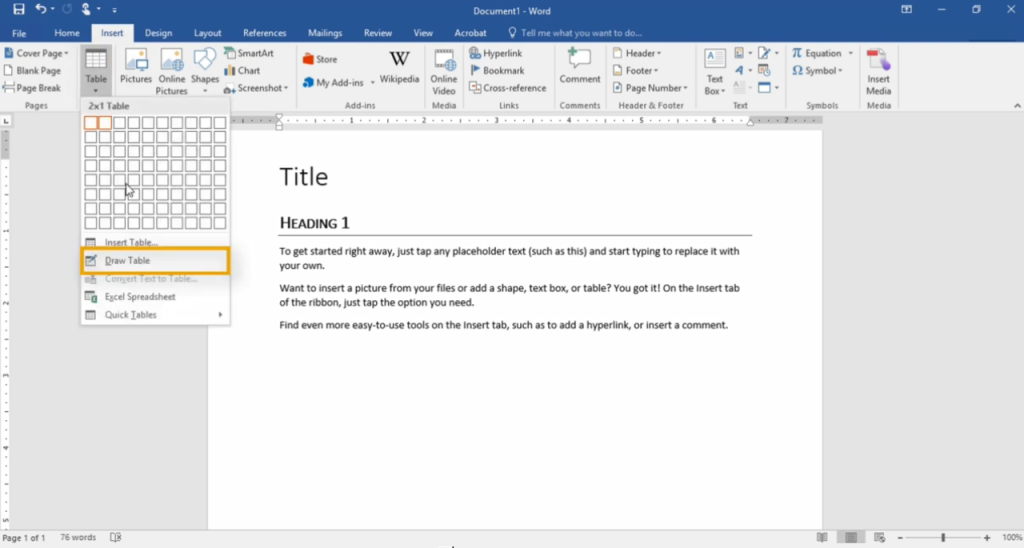
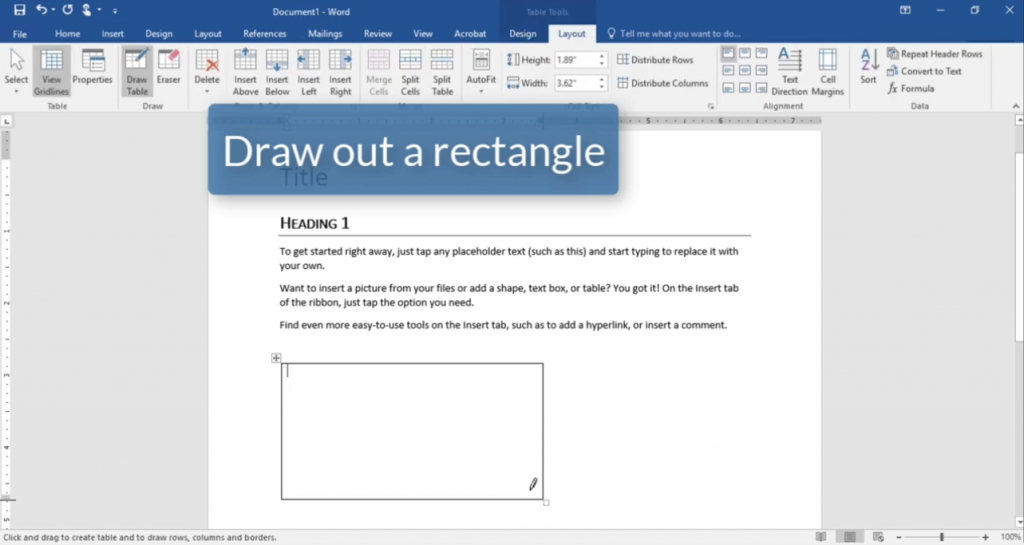
However, a quick way to get instant control over the proportions of your tables is to draw them by hand. On the Insert bar, click the Table button and choose Draw Table. This changes your mouse cursor into a pencil icon.
Start by drawing the outer edge of your table. Simply draw a rectangle.
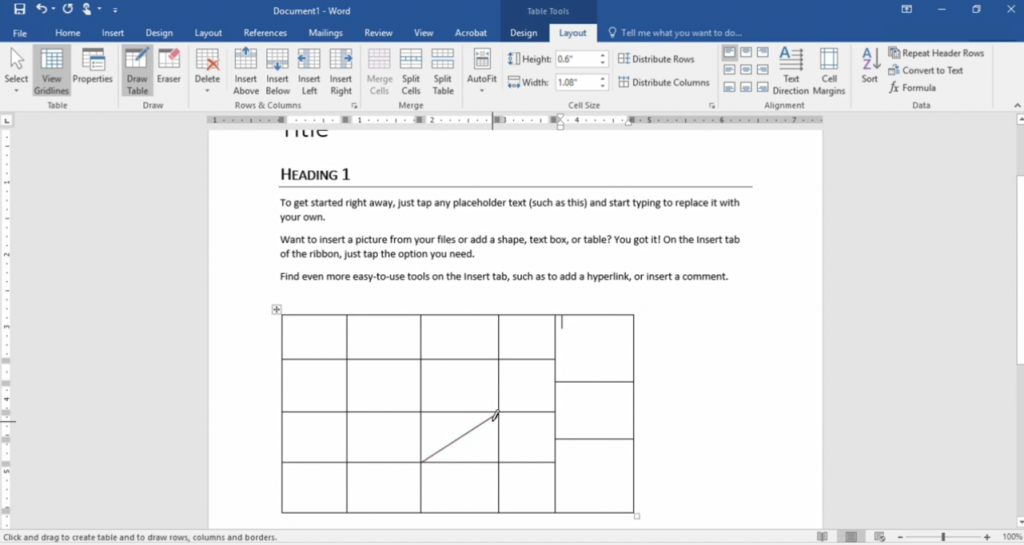
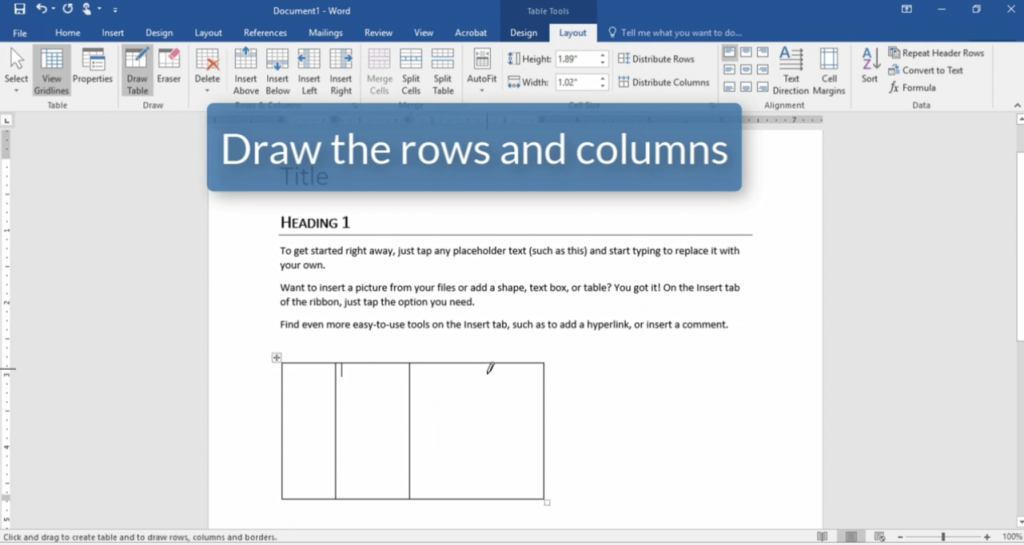
Then you can draw the lines for each individual row and column. This has the advantage that you can manually set the size of your rows and columns. Note that the table you draw appears to behave like any other table in your document. You can modify its attributes under the Layout tab.
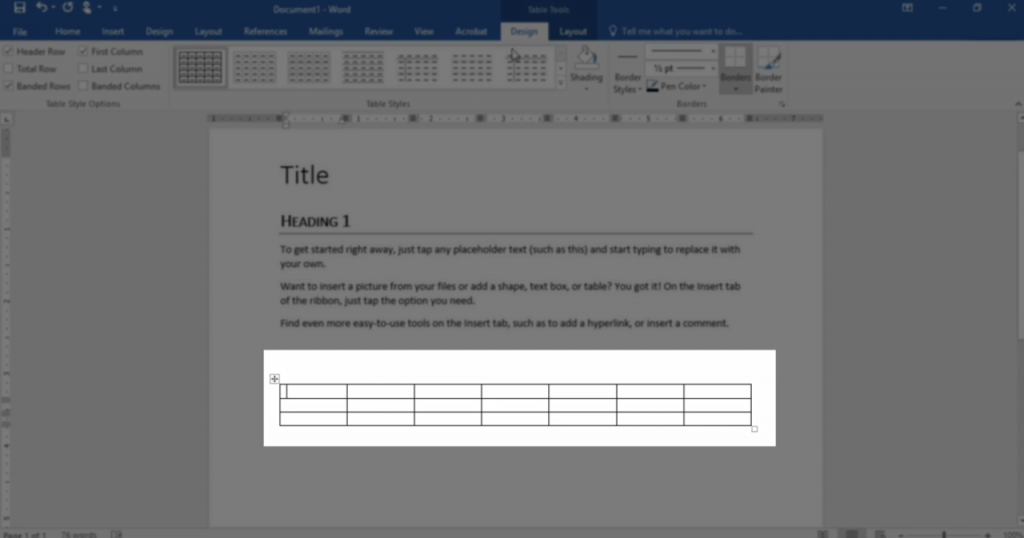
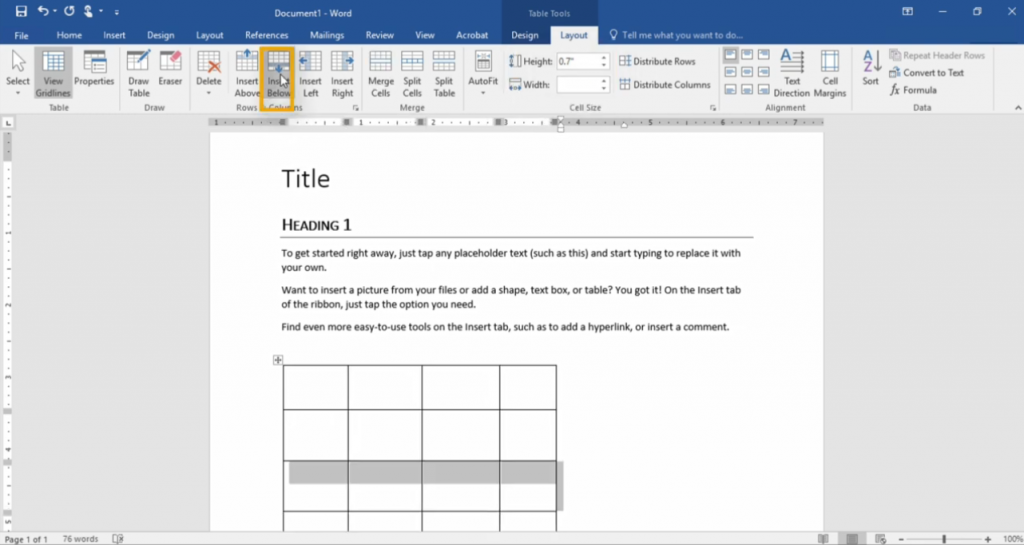
You can add more rows and columns, and you can also choose the Draw Table button again to insert more cells into your table or divide individual cells.
You can also draw diagonal lines, if required.